Photo source and reuse
Original photographOrientation normalized, resized within 1280 × 1280 pixels and converted to WebP; no crop. Original reuse terms retained.
The easiest way to make a rotary-shaver clean unnecessarily complicated is to empty all the cutters and guards into one pile. Work on one head at a time instead.
For ordinary cleaning, you may not need to remove the individual heads at all. Check the routine in your manual before turning a quick clean into a full dismantling job.
Before anything goes near water
Confirm that your model is washable and disconnect the power supply. Philips’ rinsing instructions apply to waterproof models; if yours isn’t confirmed as one, use its dry-cleaning instructions.
Keep the charger away from the sink. Put a tray under the small parts so a slipped cutter doesn’t disappear down the drain.
One cutter, one guard
Philips says to keep cutters and guards in their original pairs. Take one pair out, clean it as directed and put it back together before moving to the next.
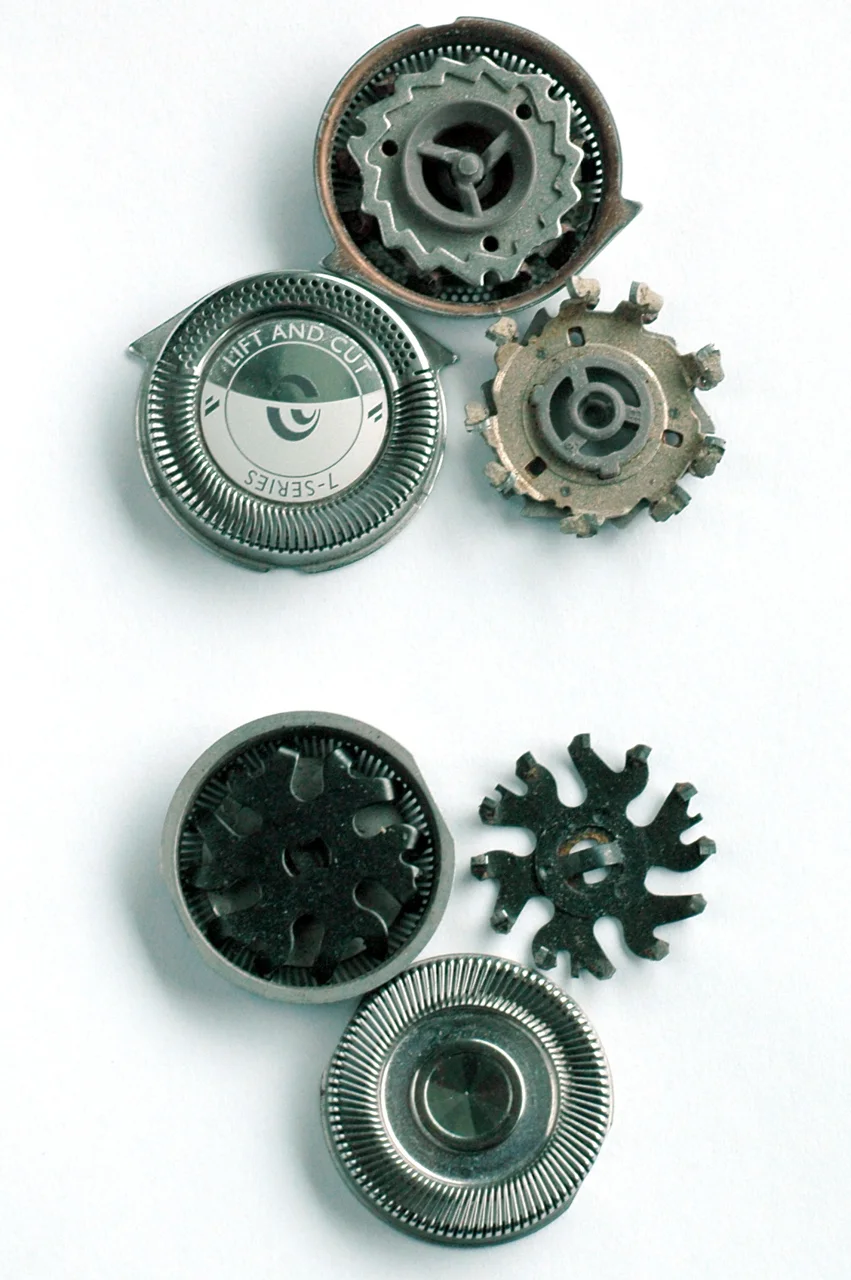
The older Philips parts in the photo make that pairing easier to see. Your retaining mechanism may look different, so use your own manual for the release steps.
Rings and frames release differently
Some holders use individual retaining rings; others use a frame. Compare yours with the diagram before twisting or lifting anything. If a piece resists, check the direction and position rather than bending it.
Secure the retainers and allow the cleaned parts to dry as directed before use. If the shaver starts behaving differently immediately after the clean, check the reassembly first. That timing is worth mentioning if you need support.
Useful links
About these sources
Manufacturer guidance, checked 2026-09-07. Use your own model’s manual for fitting and cleaning instructions.